Reroot Tutorial
Rerooting doll hair can be fun and fulfilling! Follow our easy guide on how to reroot doll hair using the Dollyhair Rerooting Tool and Needles.
We will reroot a standard Barbie doll head so we'll use the size 8 rerooting needle that comes with the kit. Always make sure to use the right size needle for your project to avoid splitting your doll's scalp or bending the needle.
If you're looking for instructions for rerooting with the needle and thread method, you will find them included with the Doll Needle Rerooting Kit.
Materials:
- A doll
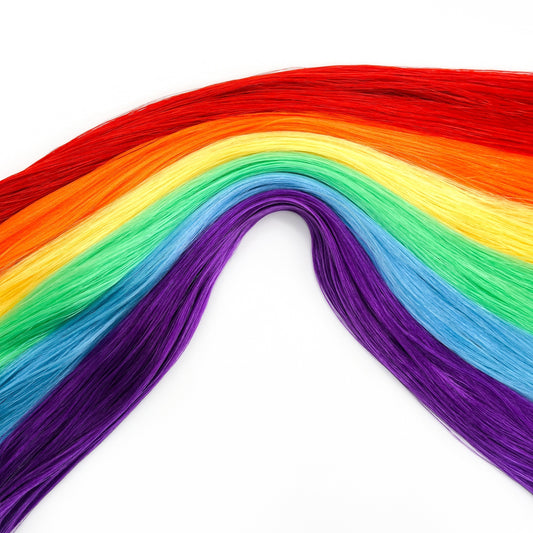
- Doll Hair (use our Hair Size Guide to find out how much you need)
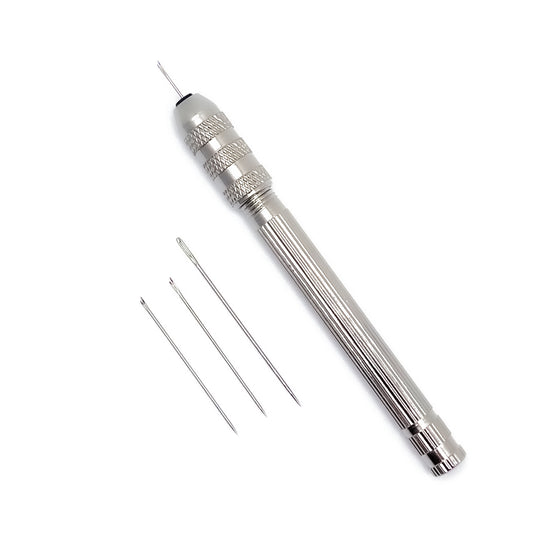
- Rerooting Tool and Rerooting Needles
- Acrylic Paint
- Paintbrush
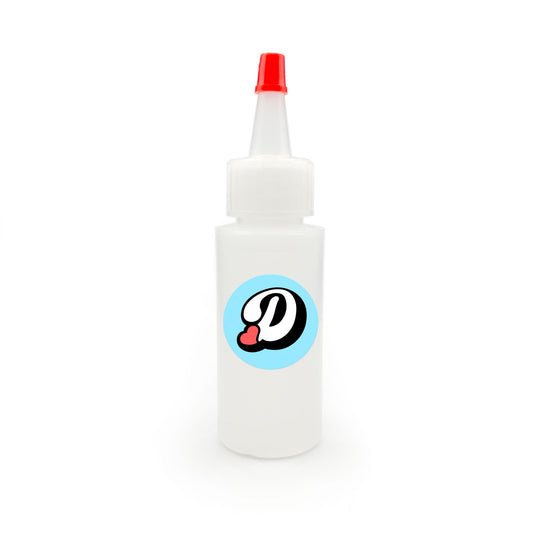
- Fabri-Tac Glue
- Scissors
- Needle nose pliers or tweezers
Step 1
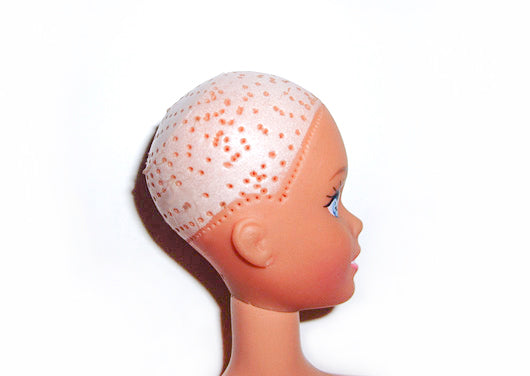
Begin by removing the doll’s hair. Cut the hair as short as possible and then remove the head. Use narrow pliers or tweezers to pull out the plugs through the neck hole. Once you have a bald doll, paint the head with acrylic paint, using a color that matches the hair to be rooted. Let the paint dry completely.
Note that the head was not painted in this tutorial for better viewing purposes in the photos.
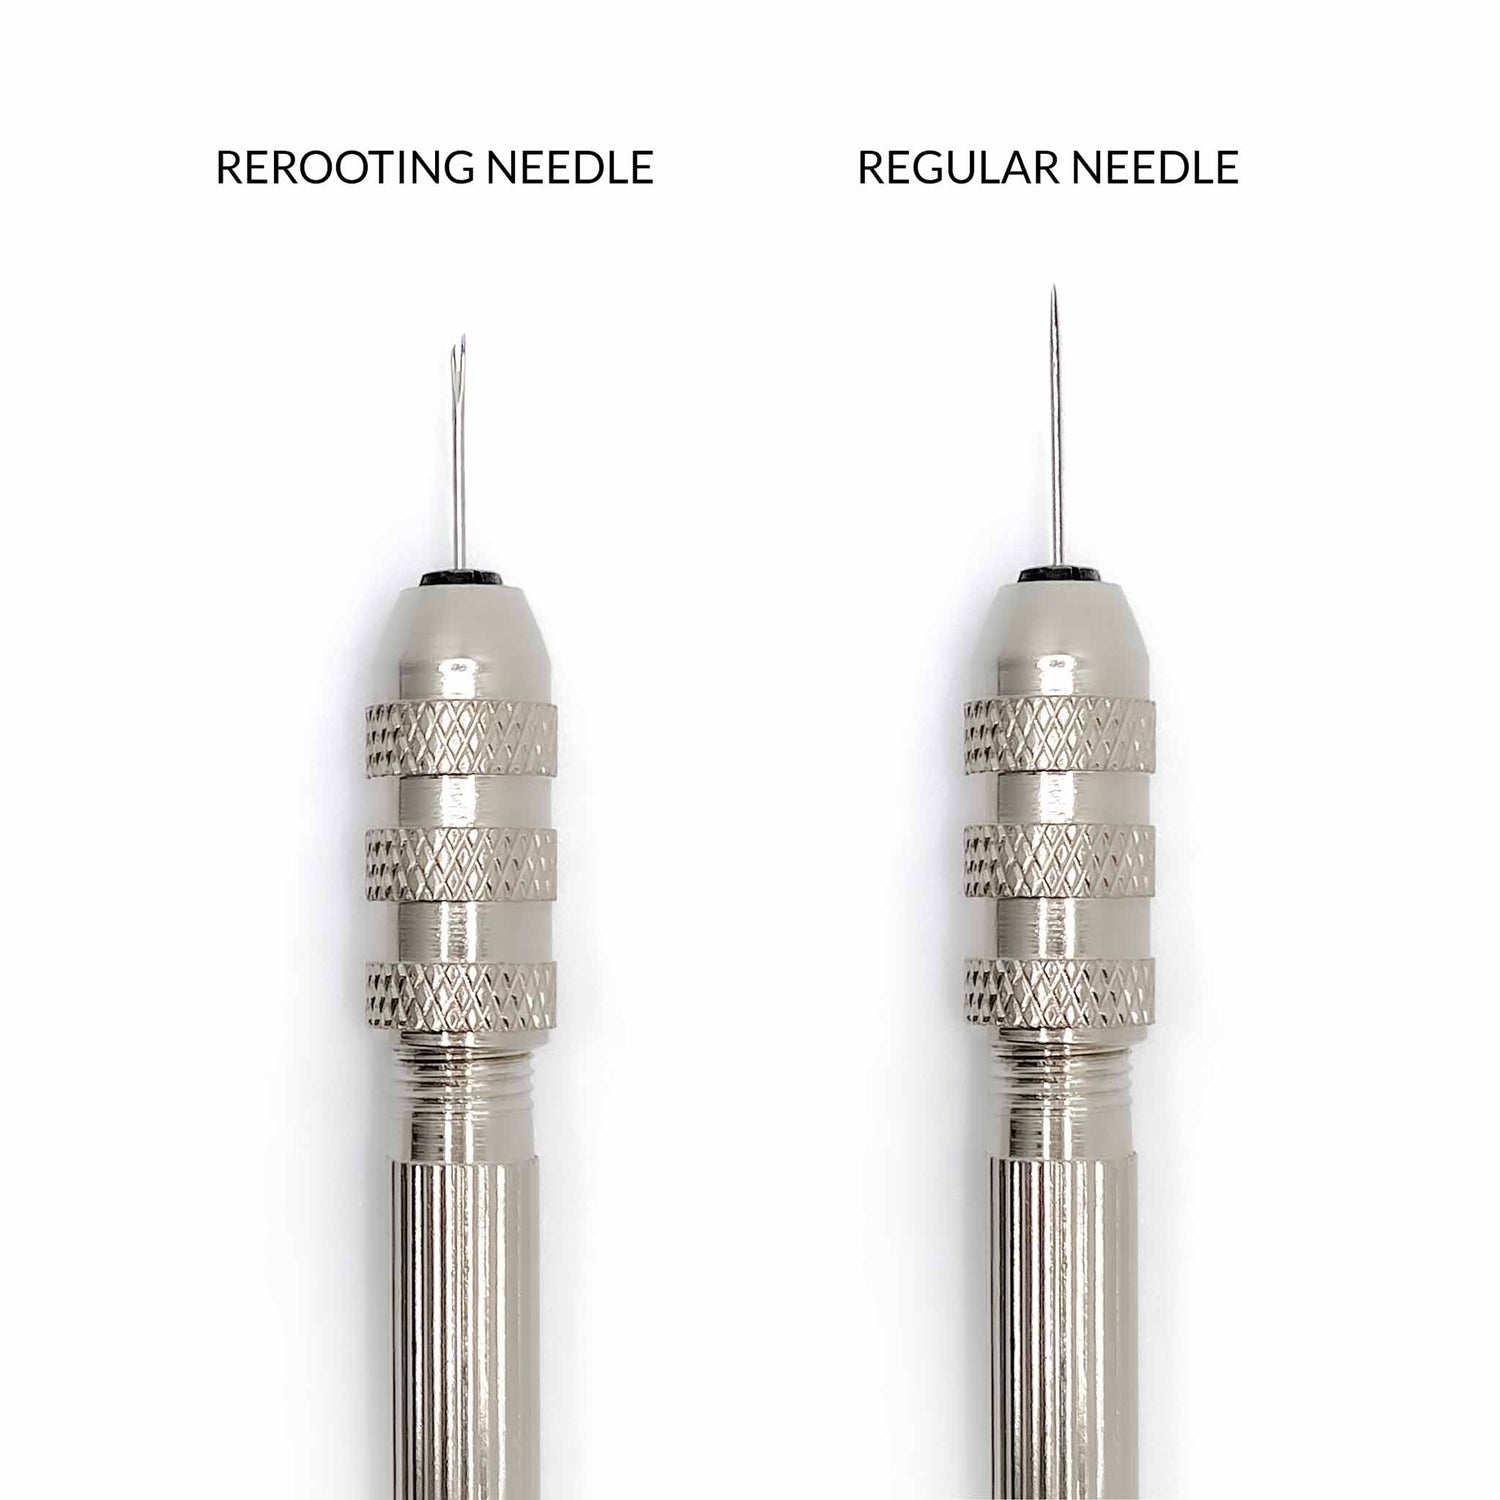
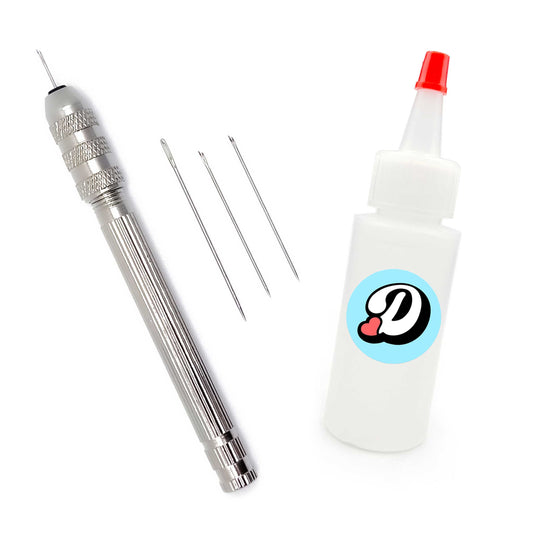
The Rerooting Tool and Needles
The Dollyhair Rerooting Tool Kit comes with pronged rerooting needles and a regular pointed needle which you can interchange in the tool. The regular needle can be used to poke holes in the doll's head while the rerooting needles are used to insert the hair into the holes. Notice that the rerooting needle consists of a long prong and a short prong.
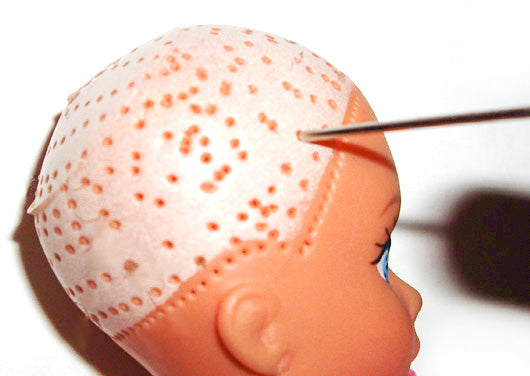
Step 2
With the regular needle inserted into the tool, poke into the pre-existing holes in the doll's head. Preparing the holes this way makes rerooting a lot easier, especially for harder-headed dolls like Silkstone Barbies or Integrity Toys dolls. The regular needle can also be used to poke new holes into your doll's head if you want to create a new part or a different type of hairstyle.
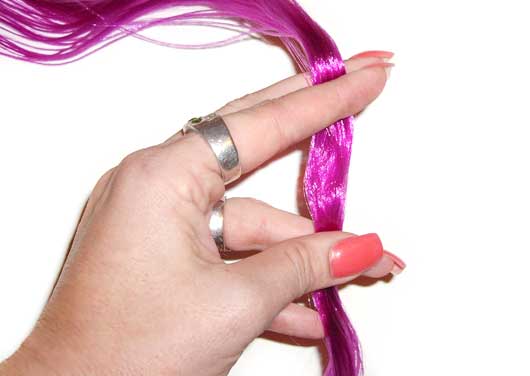
Step 3
Separate a small section of hair from the larger hank and hold it between your fingers. You will want to hold it between your fingers like this: Your index finger and your middle finger will grasp the top part of the hair, while your ring finger and thumb will grasp the bottom part of the hair. For us, this is the easiest way.

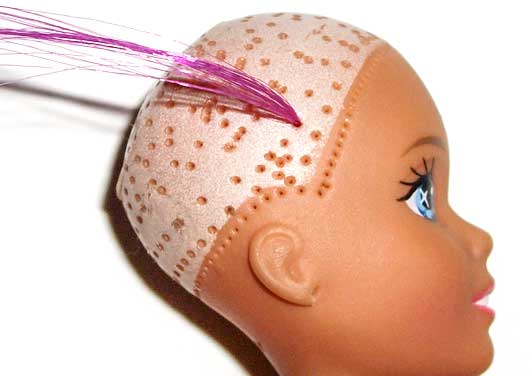
Still holding the hair between your fingers, bring the hair toward the doll's head, and hold it a few millimeters away from the hole that you intend to root. We recommend starting with the outer holes first and then working towards the center.
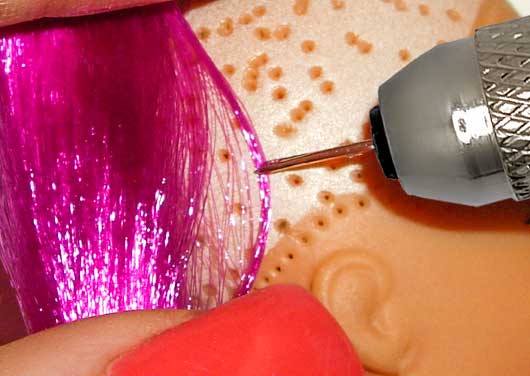
Step 4
Using a rerooting needle with the long prong facing toward the hair (important-see note below), "grab" a small section of hair between the prongs, and drag the small section toward the hole that you intend to root.
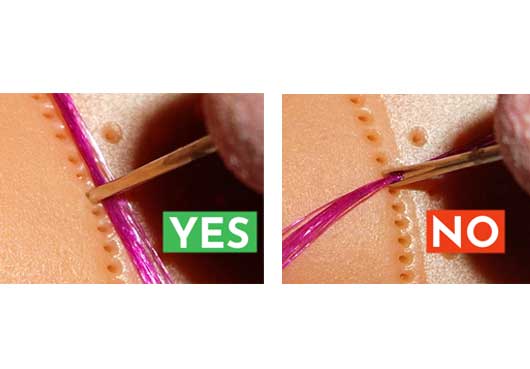
Important Note
To minimize the risk of scalp splits when rooting close holes at the hairline and part line, it's advisable to root the hair with the needle prongs perpendicular to the row of holes.
Step 5
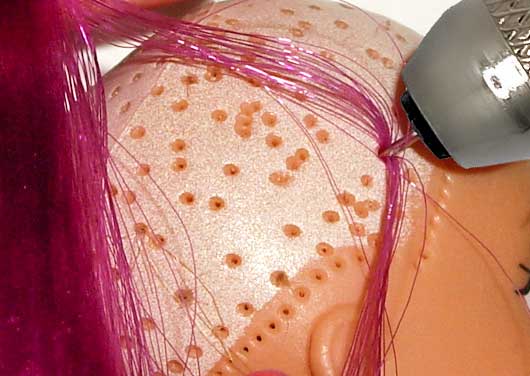
Push the hair into the hole, and push the needle all the way into the head, until the tool touches the doll's head.
Step 6
Gently pull the needle out, and voila! You've just rooted your first plug of hair. Repeat steps 5 and 6 until the whole head is rooted.
TIP: Avoid scalp splits by rerooting with multiple smaller plugs of hair in one hole rather than using a bigger needle with a large plug of hair.

Step 7
When your reroot is finished, secure the hair in place with some glue. Squirt a glob of glue into the head, and swab it around with a cotton swab to ensure that all of the hair inside the head has been covered and allow it to dry for 24 hours. We highly recommend Fabri-tac glue because it dries flexible and is waterproof, which is important if you you plan to style your doll’s hair with water!
More on rerooting
-
How much hair do I need?
Hair Size GuideDetailed information about our hair sizes and how much you would need for your project.
-
Styling Doll Hair
Doll Hair TypesLearn about the different types of hair and how to style them after rerooting.
Buy Rerooting Supplies


More Tips & Techniques
View all-
What’s the Best Doll Hair? A Complete Guide to ...
Choosing the best doll hair can be overwhelming—this guide breaks down every type from nylon to saran to textured curls, so you can reroot, restore, or create with confidence.
What’s the Best Doll Hair? A Complete Guide to ...
Choosing the best doll hair can be overwhelming—this guide breaks down every type from nylon to saran to textured curls, so you can reroot, restore, or create with confidence.
-
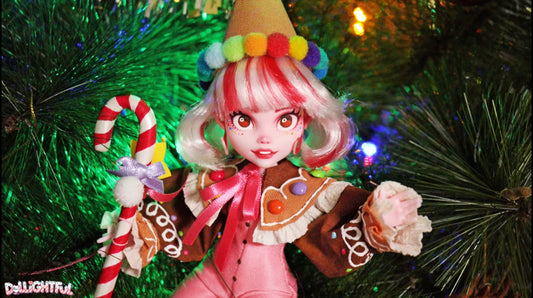
VIDEO: Polly Peppermint the Christmas Elf by Do...
Dollightful has done it again and made all our Christmas wishes come true with Polly Peppermint the Christmas Elf! 🎁 Jump into the candy-coated wonderland as she crafts this festive...
VIDEO: Polly Peppermint the Christmas Elf by Do...
Dollightful has done it again and made all our Christmas wishes come true with Polly Peppermint the Christmas Elf! 🎁 Jump into the candy-coated wonderland as she crafts this festive...